
I like the film experience very much. I like the limitations of the medium (e.g. fixed ISO), the limitations of the process (e.g. no feedback until you process), I like the fact that you have to plan (e.g. you have the films you have, no infinite shooting), and I like the limitations of the render (e.g. you’re stuck with the film stock you chose). All those limitations make the process more of a slow, intent-driven, more personal experience.
But it’s so expensive!
So I thought to myself: could I turn a digital camera into a film camera? I could in theory have the cheap process and the film experience. I went round the interwebs, and found a few projects (e.g. FilmRoll). They all had good ideas, but they clearly didn’t want to let go off the digital background. They all created a sort of hybrid process I didn’t like.
So, being an engineer, I decided to scratch that itch myself and I started a deep dive into camera firmwares, film processes, film quality and rendering, ane more. Over a weekend, I built my thing: Latent.
At the moment it’s only tested on the Canon 7D because I had one lying around unused for many years and it was therefore essentially disposable: if it got bricked, it got bricked, no crying about it. But in theory it could be generalised to most Canon cameras.
I chose that name because of its meaning in the photographic process: things that are not yet here. When light hits a film, the image is latent: it’s there and it’s not there. Something is recorded, but until you process the roll, you can’t see it. Everything between the shutter and the developer is latent, and nothing you do to the film in between will tell you what’s in there.
A digital sensor blurs the whole process because of its internal steps: as soon as you take a photo, the sensor captures signal, it’s processed, and it’s saved on the memory card, already accessible and inspectable (obviously those gloss over well depth, signal amplification, debayering, many more things manufacturers decided to hide from the user). Film, on the other hand, makes you wait. And that’s not a defect that needs to be fixed, it’s a choice.
The way I designed Latent was for maximum faithfulness with the film experience. First, you setup your camera bag: on the computer you choose what rolls of film you’ll take with you (stock and number). You can choose any number, so you have a big bag. But it’s definitively finite: once you’ve made your choice and loaded it in the camera, that’s all you have. No way around it.
When you’re out shooting, you need to load a roll of film. By clicking on the Picture Style button, you access your “Bag of cans”. It shows you all the films you loaded, available to use, and spent. Loading a film spends it, even if you don’t take photos or only take a few. Exactly like with a film camera.
Of course, you can’t reuse films. Once spent, it’s spent. You’ll have to go back home to load more films in your bag.
You can choose to push/pull up to 2 stops if you want with the joystick left/right. In most cases, you don’t need to worry about that, but it can be useful, e.g. in low light shoowting when all you have in your bag is 200 or 400 ISO film. Once you have a film loaded, the camera ISO is fixed to the stock sensitivity or your push/pull choice. You can’t change it anymore.
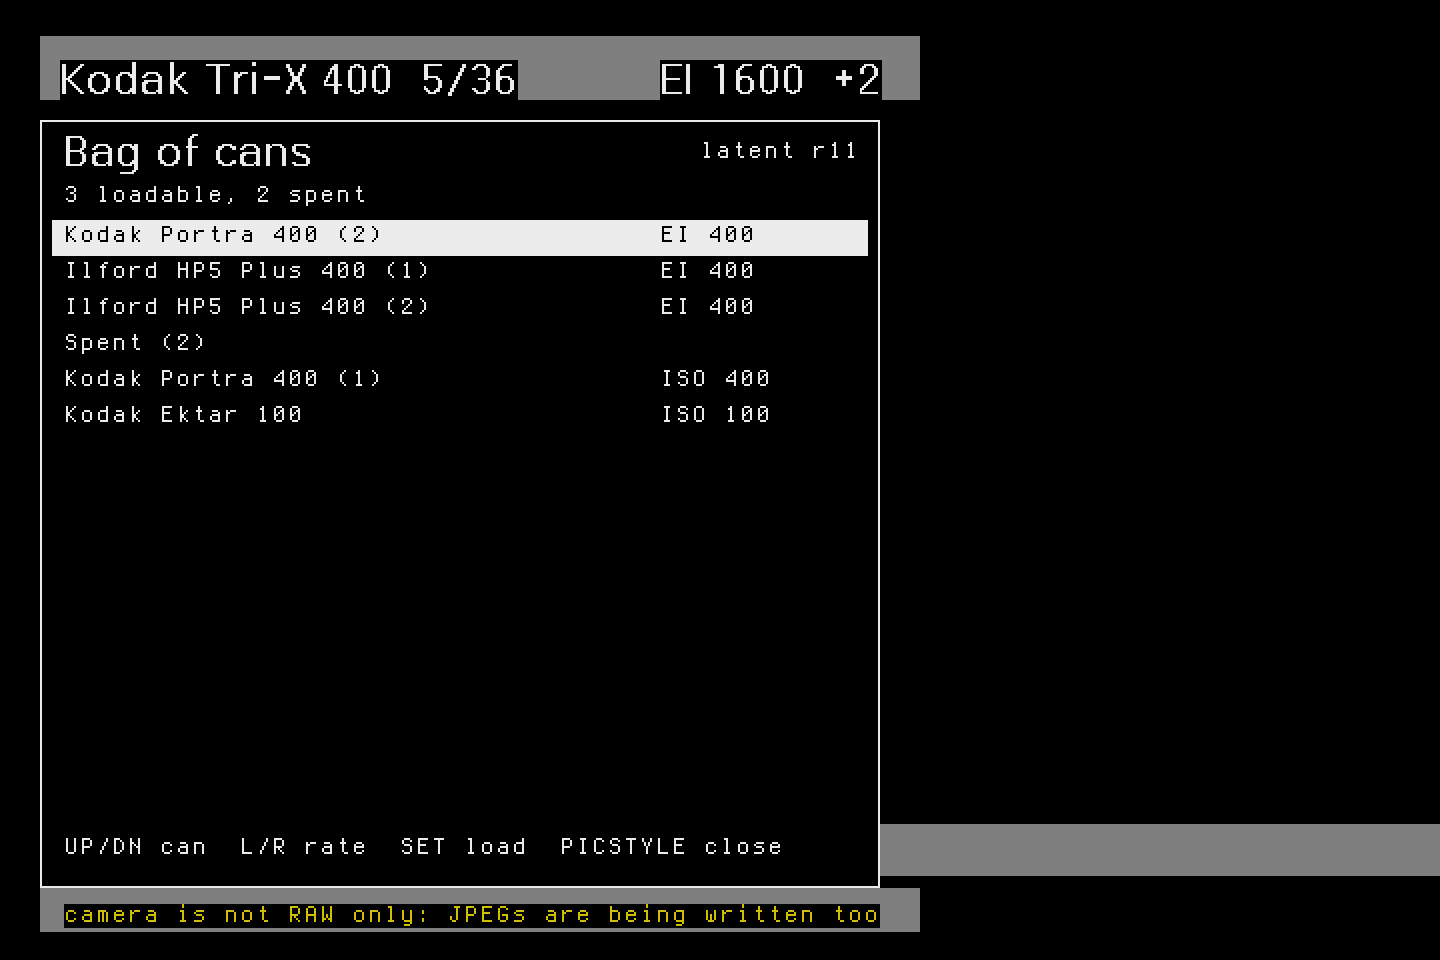
In theory you should set your camera to raw only. Not as a crutch, but because it makes the push/pull process more flexible. You can’t visualise the photos anyway, the replay button is deactivated. Like on a film camera: until processing, you don’t know what you have.
When you get back home, it’s development time. The application lets you retrieve the photos from your card, and the images are processed according to their film stock and push/pull settings. At the moment I have 296 colour looks, which covers 129 film stock + variations or so.
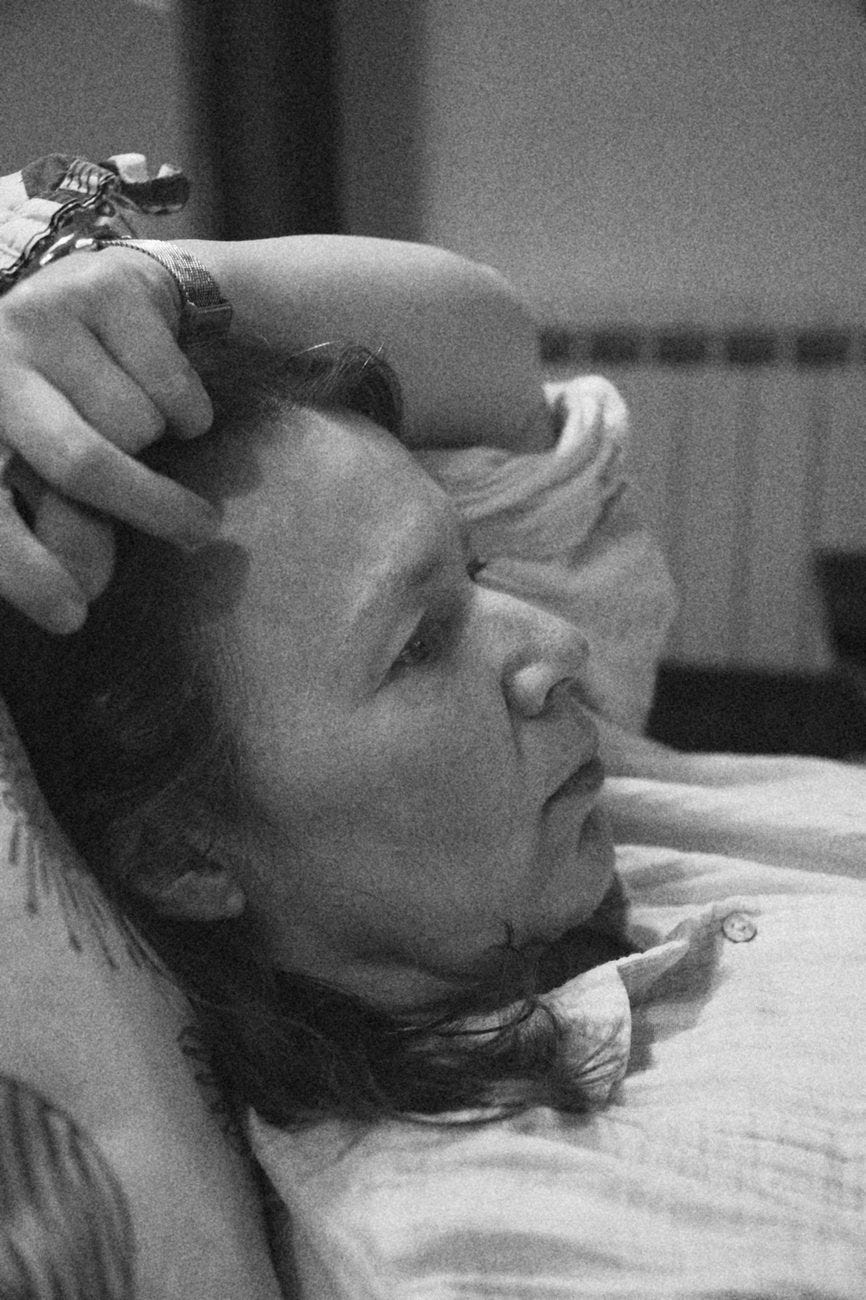
Grain, halation and a little softening are applied to be as authentic as possible. Grain was a hard problem because the camera’s own noise depends on exposure alone, and that is why nobody would be able to tell Tri-X from Portra from HP5 by looking at the images, though the three obviously differ in terms of look. So I measured the grain instead of modelling it. That step required mapping from the 7D to film emulations, so it’s camera dependant. I wrote a program that provides you with a wedge sheet to photograph and processes the photos you’re asked to take to map noise levels at various ISOs. You have to work a little bit for it.
Then of course, grain and sensor noise are independent, so what needs to be applied to the resulting image is the difference rather than the grain level. That was a bit of a mess to get about right, but in the end it works quite well in my tests.
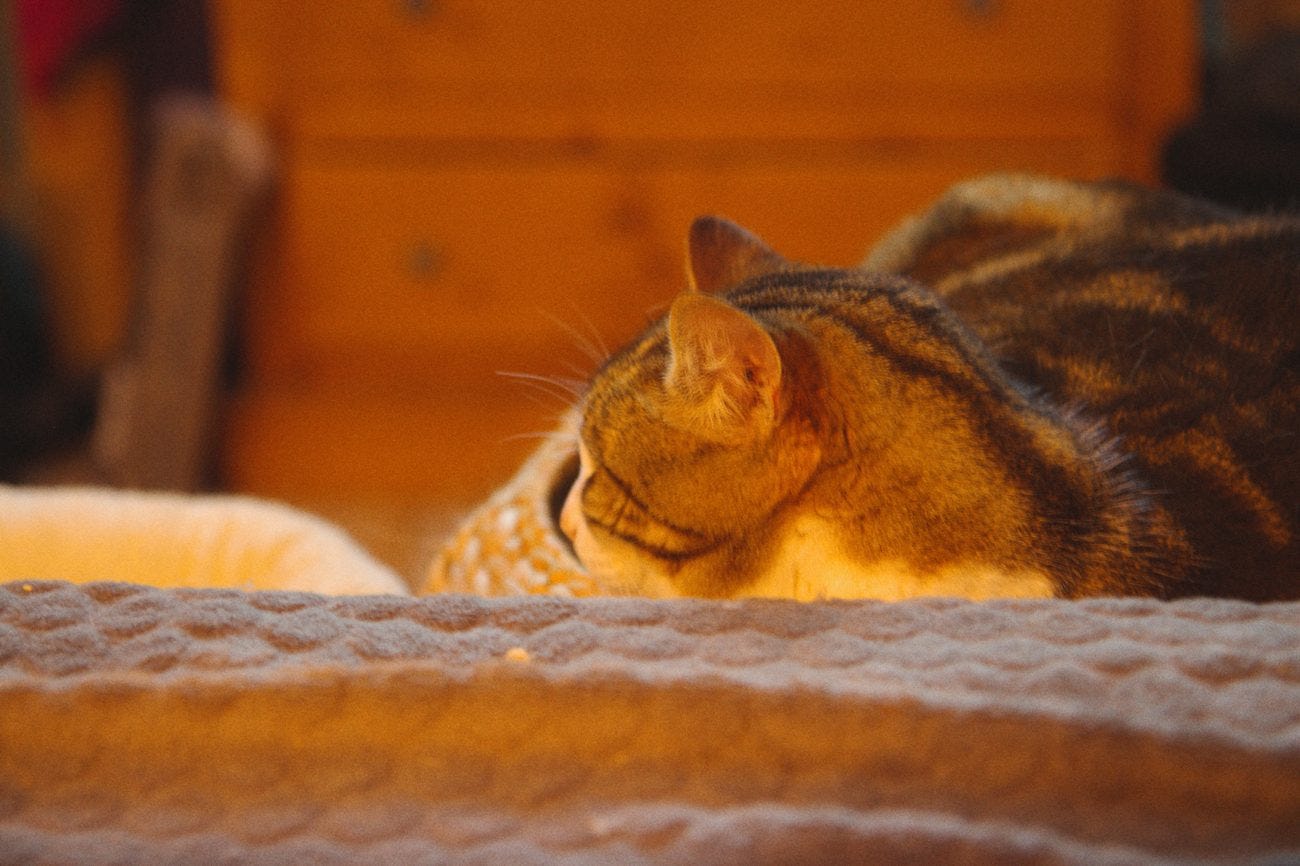
For a little bit of fun, somethines the can give you 1 or 2 additional photos, but you won’t know from the display (always 12/24/36). You’ll have to find out when you get to the end of the film.
This was a fun little project that taught me a lot about how DSLRs work internally. It’s not even beta grade yet and it probably needs a little more work (I’m still looking into what other features would make the experience more real). But at some point it might become a product for everyone.
#Photography #FilmCamera #DigitalProcess #FilmDigital #FilmSimulation