
Week four combines analysis with continued practice. My niece has been making photographs for three weeks, and she’s developed intuitions about what works and what doesn’t. Now we’ll make those intuitions conscious by looking at strong work and breaking down how it functions.
We’ll dedicate three sessions to this, each one structured the same way: look at photographs together and analyse them, then go make photographs that attempt similar effects.
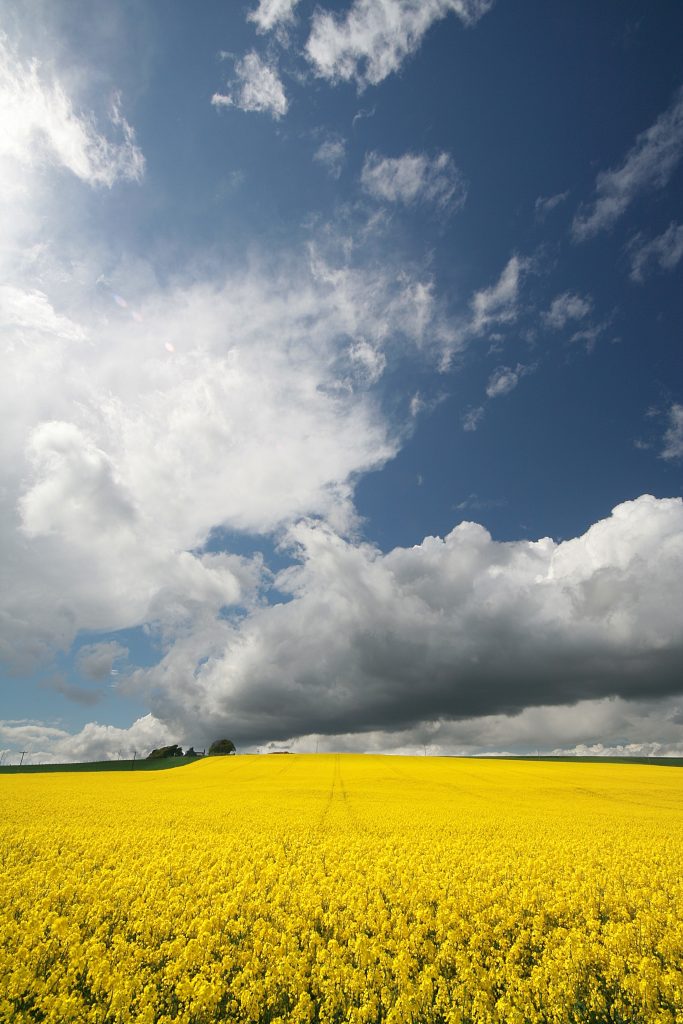
The first session is about light. We’ll look at five or six photographs where light is doing most of the work. An empty playground at dusk, shadows getting long, everything feeling abandoned. A portrait lit from below creating drama or menace. Harsh overhead sun flattening everything and creating a harsh feeling. Soft window light making everything feel gentle and contemplative.
For each one I’ll ask: what does this make you feel? Then: how is light creating that feeling? She’ll start noticing things: direction changes how things look, hard light creates drama, soft light creates peace, warm light feels comfortable, cool light feels alienating. Then immediately she’ll go out with an assignment: photograph the same thing in two different kinds of light. Show me how light changes what something means. She’ll probably pick something simple, a corner of her room or a tree outside, and photograph it in morning light and evening light, or in sun and in shade.
Comparing the results makes the lesson a feeling rather than a theory. Same subject, completely different emotional register. That experience lands differently from being told about it.
The second session is about framing. We’ll look at photographs where framing is the key choice. A portrait that shows just a face versus one that shows a person in context. A street scene framed tightly to create energy versus framed wide to show space. An object photographed close up so it fills the frame versus photographed from distance so it looks small and isolated.
For each one: what is this photograph about? How does framing determine that? She’ll start seeing that tight framing makes images about the subject, while wider framing makes them about the subject’s relationship to space. What you include and exclude determines what the photograph communicates.
Her assignment: photograph the same person or object at three different distances and show her how each version shifts what the image is about. The close-up will be about the thing itself, its texture and details and presence. Pull back to medium and suddenly it’s about the thing in context, how it relates to its immediate surroundings. Far away, it becomes about scale and isolation, the thing’s relationship to the larger environment. We’ll look at all three together, and what she’ll notice is that the subject hasn’t changed at all. Her choices about how to frame it have changed everything about what it means.
The third session is about moment. We’ll look at photographs where timing was crucial. A person caught mid-gesture. A bird taking flight just as wings reach full extension. A street scene where multiple elements align temporarily. Shadows at a specific angle creating pattern. For each one: what would change if this was photographed one second earlier or later? She’ll see that some photographs only exist for a moment, and that the decisive moment isn’t just about action; it’s about when elements align, or when light hits perfectly, or when someone’s expression reveals rather than conceals.
Her assignment: photograph something that changes over time. Light moving across a wall, people gathering and dispersing, weather changing, traffic flowing. Multiple images showing different moments, then choose the one where everything aligned best. This is harder than the previous assignments because she has to wait and watch rather than just choosing distance or angle. She’s learning patience, learning to recognise when the moment is right rather than just grabbing any moment.
Alongside these three sessions, throughout week four, I’ll also send her photographs without context and ask her to give me a few sentences about how each one works. Not what it shows but how it communicates. What choices did the photographer make? What does light do? What does framing do? How does moment matter? This builds analytical skills that inform her own work. When you can articulate why an image works, you can make deliberate choices to create similar effects. She’ll also send me images she encounters that she likes, with her own analysis, creating ongoing conversation about how photography communicates.
By the end of week four, she’ll understand photography’s basic vocabulary. Light determines mood. Framing determines what the image is about. Moment can make or break certain kinds of images. These aren’t rules to follow mechanically. They’re tools for creating meaning, and you choose which tools to use based on what you’re trying to communicate.
She’s still shooting on automatic, but her images are getting stronger because her seeing has improved. She’s making better choices about what to photograph, when to photograph it, from what distance and angle. The automatic settings are adequate for most of what she’s doing. But she’s also encountering situations where automatic isn’t adequate; the camera exposes for the whole scene when she wants a darker mood, it focuses on the wrong element, it can’t do what she needs. Those frustrations are accumulating. Week five is when technical control enters, but it enters in service of everything she’s learned so far. She knows what she’s trying to achieve. She understands how photographs communicate. Now she needs tools to execute her vision more precisely.
Technical control will feel like liberation rather than burden because it arrives exactly when she needs it.
#Photography #IMayBeWrong #Opinion #Teaching #TeachingPhotography